“Trick or treat” step by step.
The word Halloween is first attested in the 16th century and represents a Scottish variant of the fuller All-Hallows-Even ("evening"), that is, the night before All Hallows Day.
Halloween is an annual holiday observed on October 31. Are you ready for it?
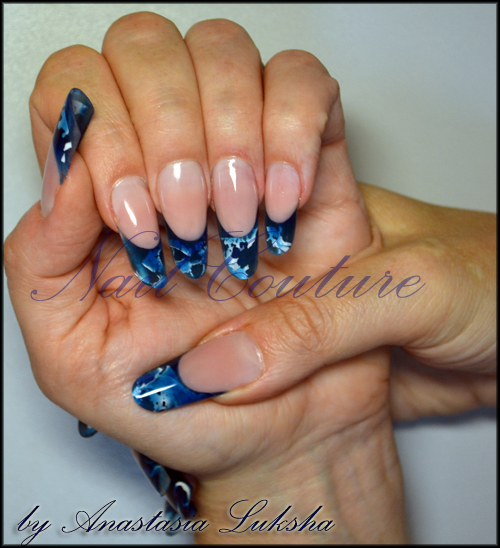
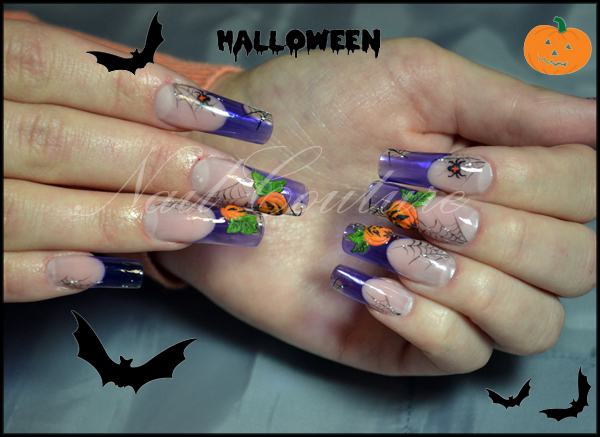
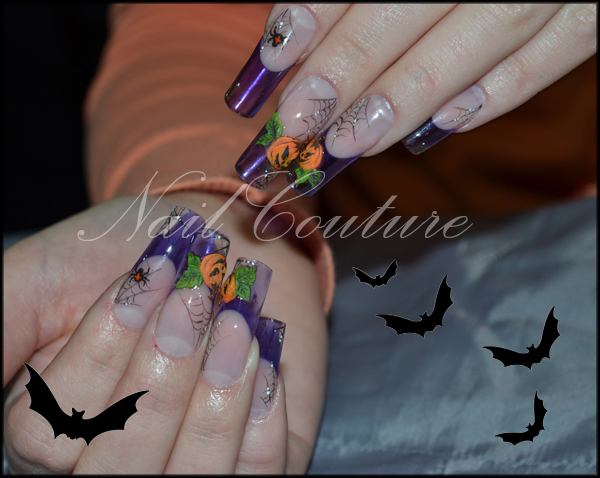
Here’s some design ideas for this holiday – your clients will definitely love it!
This step by step design is done by Luksha Anastasia and Makhitarova Tatiana.
To create this design you’ll need:
Purple glass paint
Purely Pink Masque powder and Totally clear powder
Technailcolor powders: orange, green, brown.
Acrylic paints: black, white, orange, green.
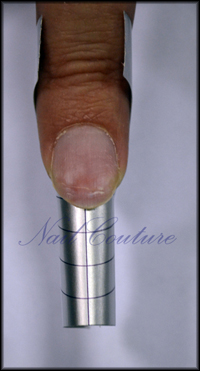
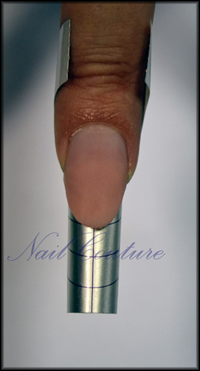
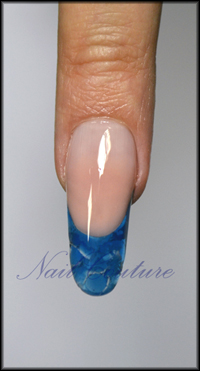
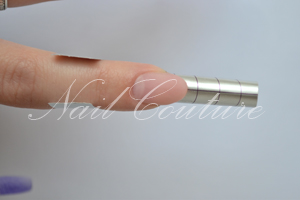
- Prep the natural nail as usual.
- Fit the Platinum nail form. Using Purely Pink Masque, extend the natural nail bed.
- Add three drops of purple glass paint to the Attraction liquid. Using Tottaly Clear and colored monomer sculpt the free edge and leave a small spot in the corner clean. Sculpt that corner using Totally Clear with pure liquid.
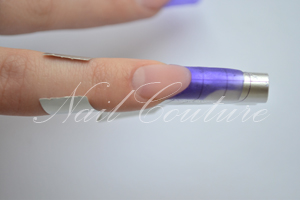
- Gently pinch the nail. File and shape the nail, buff the surface with a 240 grit buffer.
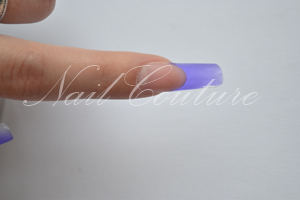
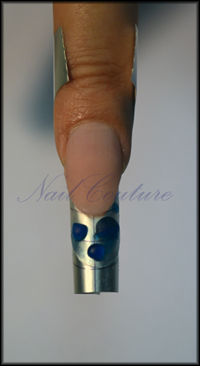
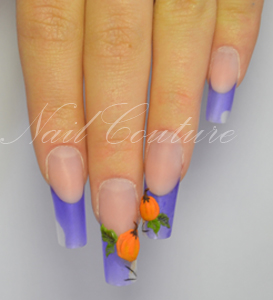
Now it’s time to create the design.
- Using orange acrylic powder, sculpt the circles imitating the shape of the pumpkin.

- Sculpt the second row – the lobules. Add the leaves using green acrylic.
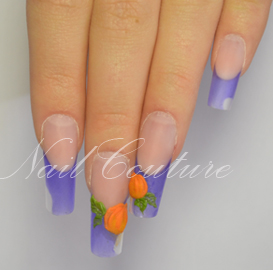
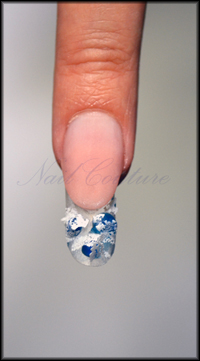
- Sculpt the scape of the pumpkin using brown acrylic. With black acrylic paint draw the nets in the clear corners of the nails.
- Add some shades and accents with acrylic paints; draw the rest of the nets and the spiders.

- Draw the pumpkin’s faces. Add some white spots on the nets with white acrylic paint. Use orange acrylic paint to draw the pupils and teeth of the pumpkins, rood on the back of the spider.
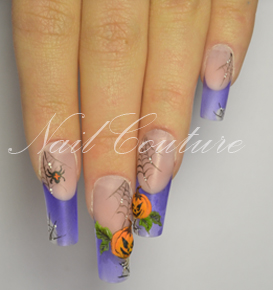
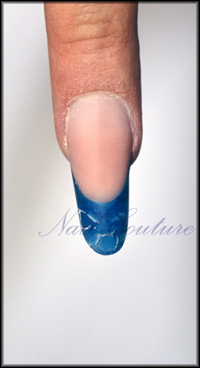
- Cover the entire surface with gel top, excluding the pumpkins. Condition the cuticle with the nurture oil.

The design is done!