Sunday, October 27, 2013

Textured Gel Tutorial

Especially for you, gel lovers!
In the visual arts, texture is the perceived surface quality of a work of art. It is an element of two-dimensional and three-dimensional design and is distinguished by its perceived visual and physical properties. Use of texture, along with other elements of design, can convey a variety of messages and emotions.
Acrylic is really good and easy to create different kinds of 3D effects and texture. We can play with it as it polymerizes right in front of our eyes. With gel, it is not that easy as all of the process runs in the lamp and we can’t really see it or take part in it.
Still, there are some techniques that allow you to create beautiful effects with gel too!
Find out how to create textured gel in this tutorial. Just follow the steps!
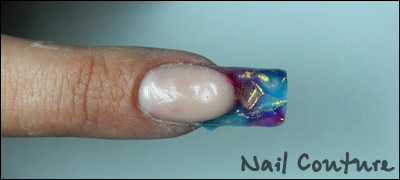
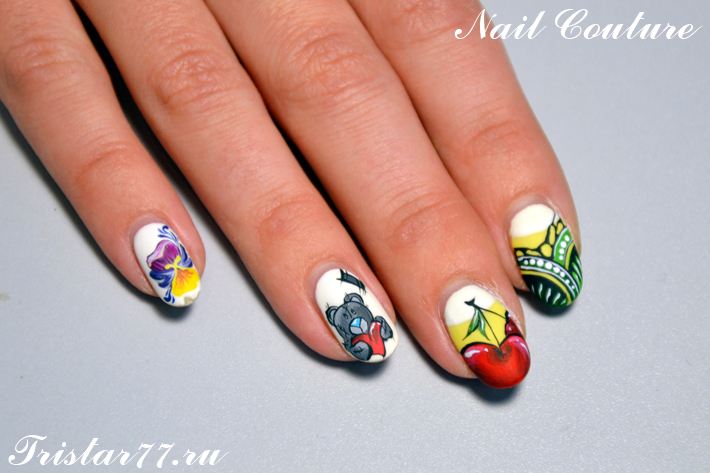
Art work performed by student on 3rd day of training at “Gel advanced level 5-day class” in Nail Couture training center, Moscow, Russia.
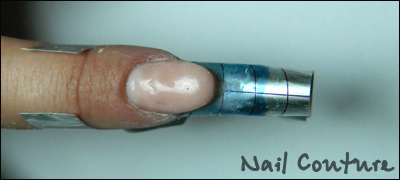
1. Sanitize both your hands and your client’s hands. Prep the natural nail: gently push back the cuticles, shorten the free edge, and take off the surface shine with 180 grit file. Apply the base gel or any other type of thin consistency clear/pink gel and cure it in UV lamp 30 seconds. Fit the form. Sculpt a thin base layer of the free edge with a clear gel mixed with a little of blue glass paint and cure it 1 minute in UV lamp.
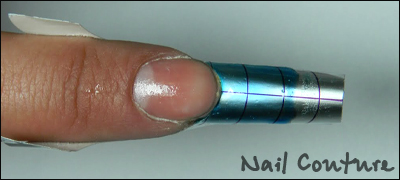
2. Sculpt the nail bed zone with cover gel. File the smile line with a file a little bit to make it crisper.
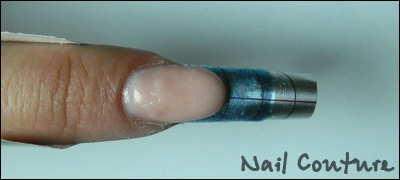
3. Mix two different colors using pink and blue glass paints. Add couple drops to the clear gel and mix it carefully. It is better two choose middle or thick consistency gels, like NSI Body Builder Clear or Apex Builder Clear. Sculpt the free edge with two colors of pre-mixed gels. Before curing put the plastic wrap on top of the gels and create some wrinkles using pusher, orangewood stick or any other instrument. Put it in the UV lamp and cure for 2 minutes.
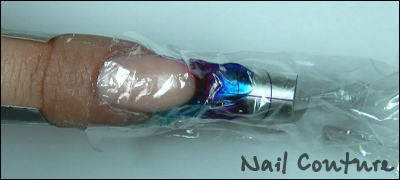
4. Add some glitter effect powder on top to make accents on the top of the wrinkles. It’s better to apply them randomly, to mark the texture effect. Just use your imagination. Remove the form.
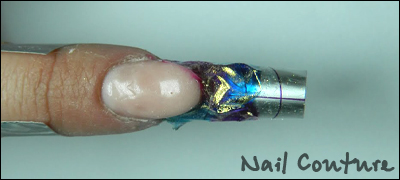
5. Cover the free edge with any clear gel, gently pinch it and cure. File and buff the nails.
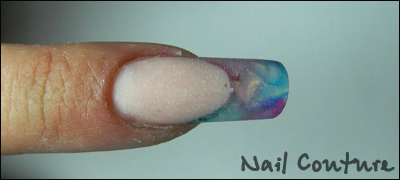
6. Take off the dust and apply Glaze ‘N Go, cure it 90 second.
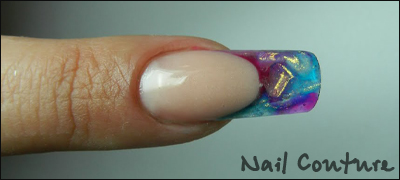
7. Nurture cuticle with cuticle oil.
Done!

Want to create natural-looking gel nails with nice C-curves?
Learn how to pinch gel easily?
Sign up for our updates and learn more techniques at Nail Couture training center!

Wednesday, October 23, 2013

Bronze medal in St. Petersburg


Love this artwork "Pin up" by Natalya Bovykina from Ekaterinburg!
It got 3rd place on Nevskie Berega in St. Petersburg, september 2013. Congratulations!

Nail art: Natalya Bovykina
Photo: Plekhanov Anton
Style: Plekhanova Natalya
Model: Alla Knyazheva

Monday, October 21, 2013

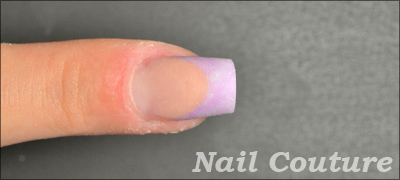
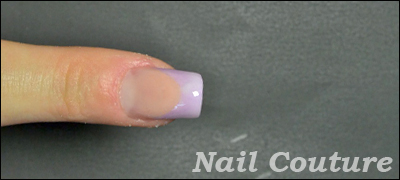
Perfect nails on nail biter's hands - 6 easy steps

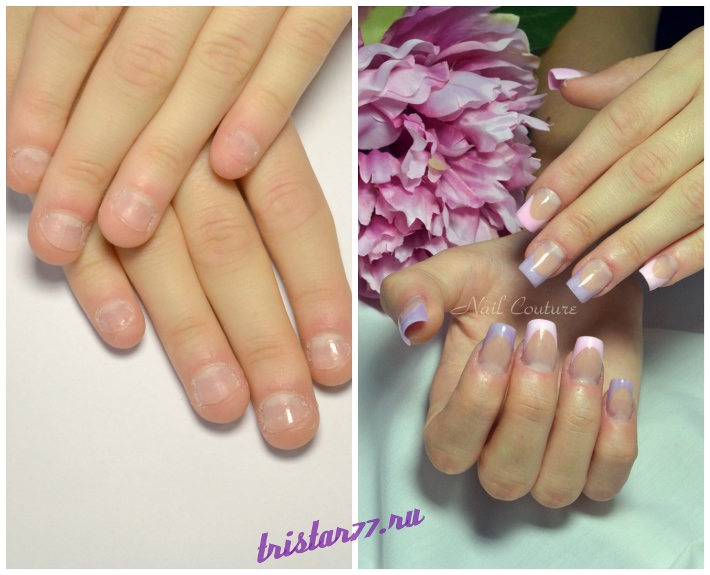
Before and after


Onychophagia (also onychophagy) or nail biting, is a common oral compulsive habit (sometimes described as a parafunctional activity) in children and adults.
Biting nails can lead to broken skin on the cuticle. When cuticles are improperly removed, they are susceptible to microbial and viral infections such asparonychia
Medical literature reports cases of fingernails being severely deformed after years of nail biting.

The best way of treatment in most cases is to visit psychotherapist periodically.
However most times nail biters look for help from us, nail technicians.
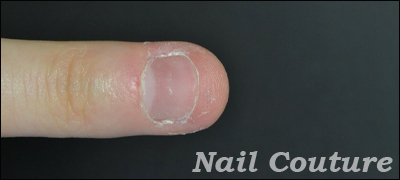
Typical nail biter’s nails are usually thin and tiny, with thick skin on lateral walls and dry cuticles. Sculpting on this kind of nails is always a challenge even for experienced nail tech.
Using tips will not help – they will peal off in less than a week and the problem will not be solved.
There is a solution; we can use forms and special metal sealer to sculpt perfect nails even on the smallest nail bed. Follow steps of this tutorial and find out how.

1. First prep the natural nail: gently push back the cuticle, shorten the free edge, and take off the surface shine with 180 grit file.


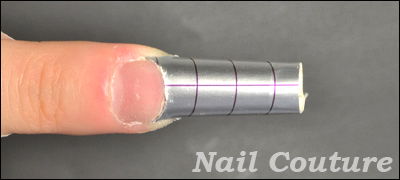
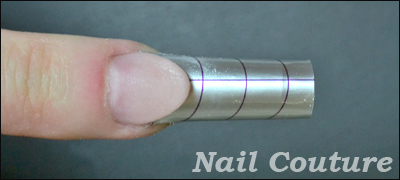
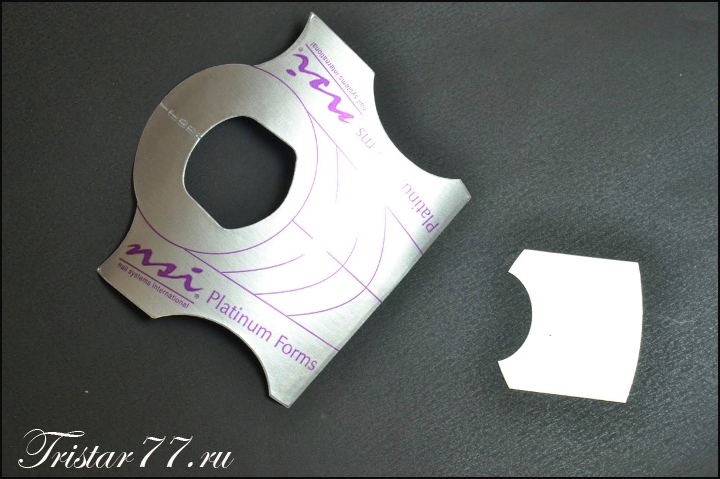
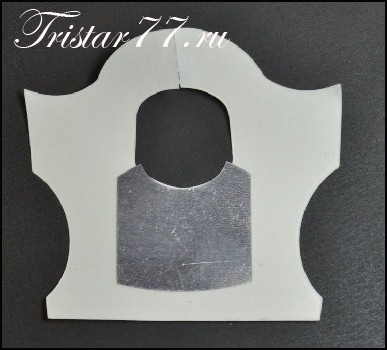
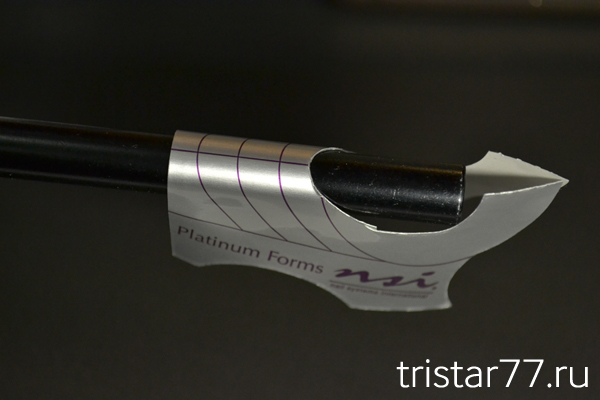
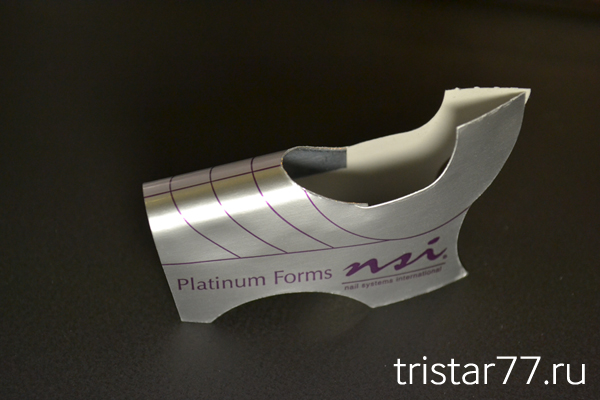
Prep the form. Stick the metal sealer from underneath the form. Cut the shape of the form according to the shape of the free edge of natural nail with sharp manicure scissors. Cut the additional space in the corners in order to fit the form easier. Choose the C-curve tool depending on the width of natural nail. Make sure it is not too wide or too narrow. Shape the surface of the form with the metal sealer underneath over the C-curve tool.


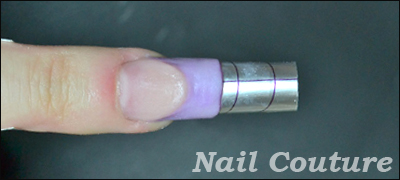
2.  Sculpt the nail bed area with camouflage acrylic powder.


3. Sculpt the free edge with light purple color powder.


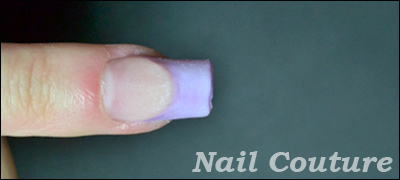
4. Take off the form and slightly pinch the nail.


5. File and buff the nail.


6. Cover the nail with Glaze ‘N Go and cure 90 seconds in UV lamp.


Final result!


Want to learn how to sculpt perfect nails?
Create amazing designs no matter how difficult are client’s natural nails?

Go for it, sign up for one of our classes today and become successful nail technician tomorrow.
For more information, contact me.


Thursday, October 17, 2013

African woman art work


Amazing art work "African woman" by Yulia Khasanova, NSI Educator from Nail Couture, Yekaterinburg, Russia.
This work won first place at Nevskie Berega championship in St. Petersburg in September 2013. I agree with the judge's opinion, I love this african style nail art, model style, make up and overall look.
To create this beautiful shot, Yulia was working with the whole team of professionals:

Nail art: Yuliya Khasanova
Photo: Plekhanov Anton 
style: Plekhanova Natalya 
model: Natalya Bovykina 


Well done, guys, and congratulations!


Nail Couture Yekaterinburg at Beauty Trade Fair "Style and Beauty" 2013

Nail Couture Yekaterinburg at Beauty Trade Fair "Style and Beauty" 2013


Контакты:

Cover art work

 
It is always nice to find your art work done 4 years ago on a cover of magazine. This time it is Czech nail magazine.

It was one of my first art works made especially for publishing in russian nail magazine, Nogtevoi Service. I created 4 different designs and the chief editor chose this one. I was surprised by her choice cause it seemed so simple and plain to me.
But everybody liked it and NSI still uses it for ads and banners.

You can find step by step of "Watermelon design" and original pictures on NSI website here.


Thursday, October 3, 2013

Training for NSI Educators in Moscow, Russia

Training for NSI Educators in Moscow, Russia

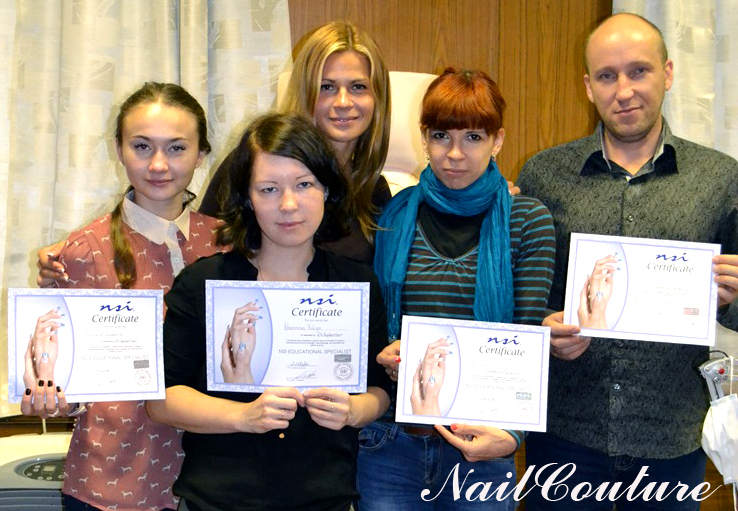
At 24th of September 2013 training for NSI Educators was held in Moscow, Russia. During three days of intensive training students learned all about NSI products, nail chemistry, tips and tricks in salon and how to provide presentations and workshops. On last day attendees took written test, practical exam and presentation. All participants successfully passed all the exams and got the status “NSI Educational Specialist”.
Welcome to NSI!

If you are interested in becoming part of NSI and being a certified Nail Educator, contact us.

Monday, September 30, 2013

Beauty show "Nevskie Berega" 2013

International beauty show "Nevskie Berega" took place at 26th - 29th September 2013 in Saint Petersburg, Russia.
It is the largest beauty competition in Russia. This time there were more than 600 competitors in nail section.


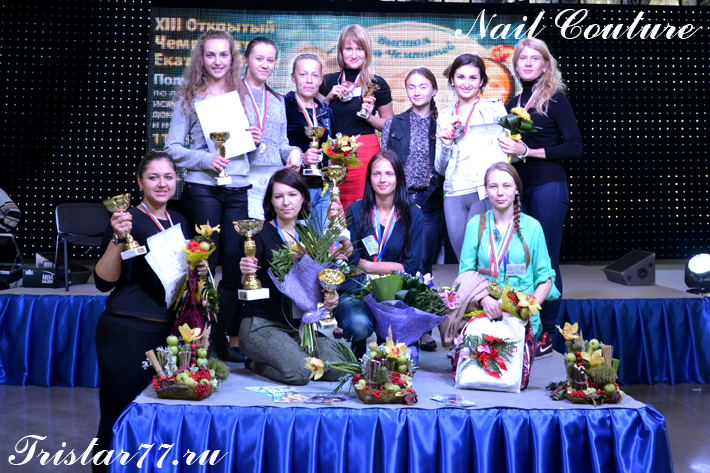
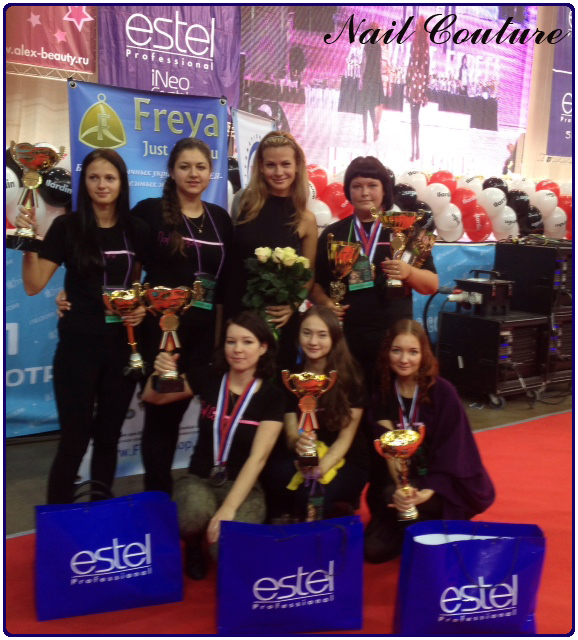
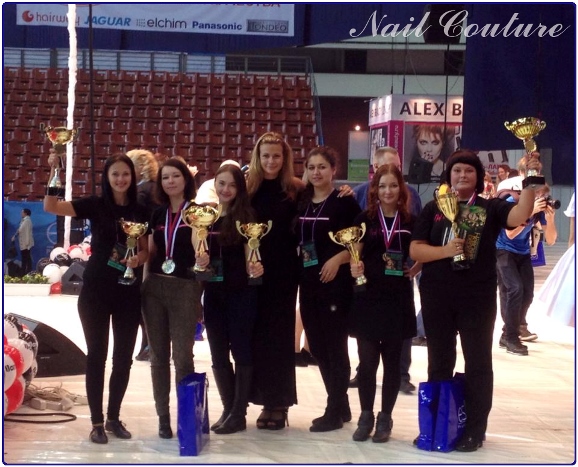
Nail Couture team took part in 7 categories and won 11 awards!
• 1 grand prize in Total Score
• 3 golden trophies
• 1 silver trophy
• 2 bronze trophies
• And 3 more prizes in 4th and 5th places!

The winners used NSI products in acrylic, gel, salon success, manicure and salon inlay design nominations.

Here are the names we are so proud of:
• Muravieva Anastasia, Novice
• Kadnikova Nadejda, Junior
• Bovikina Natalya, Veteran, NSI certified Educator
• Korelina Evgenia, Veteran, NSI certified educator - just certified last week!
• Khasanova Yuliya, Veteran, NSI certified educator and distributor in Ekaterinburg


Go Nail Couture!

Tuesday, May 7, 2013

How to fit the form

How to fit the form


Tutorial represented by Anastasia Luksha, NSI Master Expert, Current INES judge, nail competition trainer.


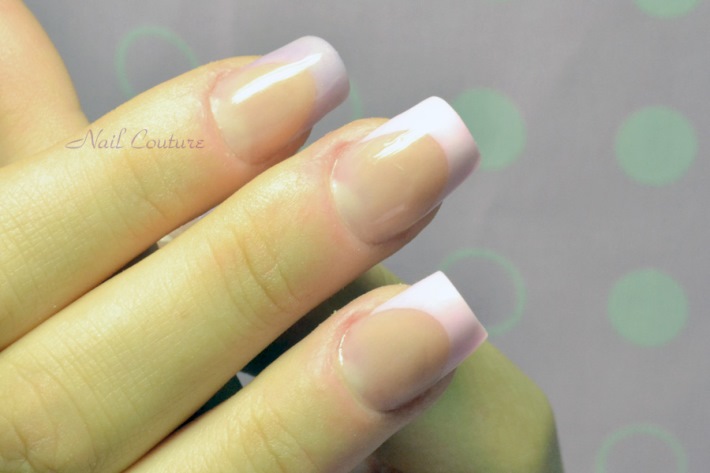
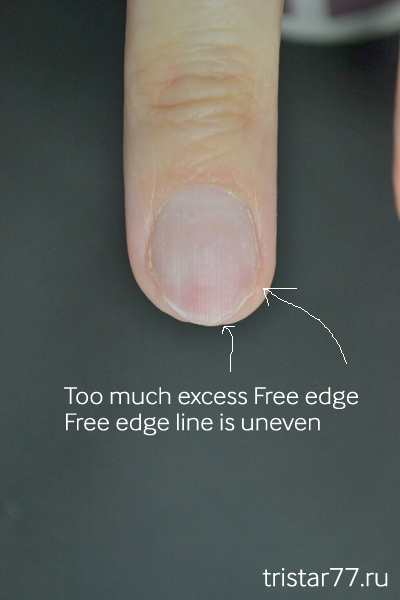
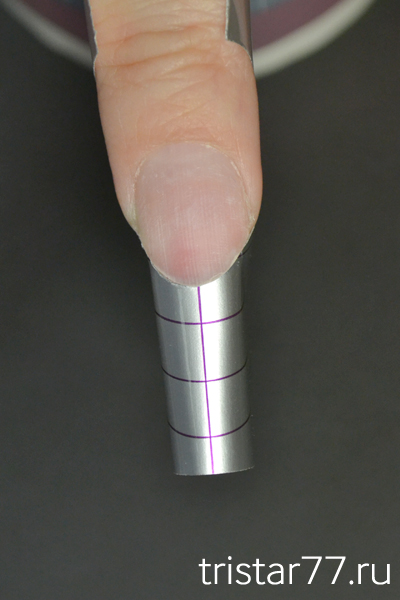
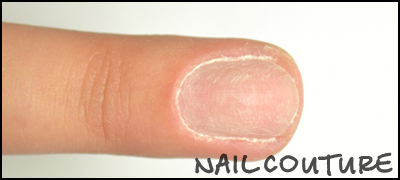
1. Prep the natural nail: push back the cuticle, shorten the free edge, take the surface shine using 180 grit file. This client got pretty big lateral ridges, though it is very important to fit the form correct. On the photo you can see that the fee edge line is not even and there’s too much of excess free edge left.


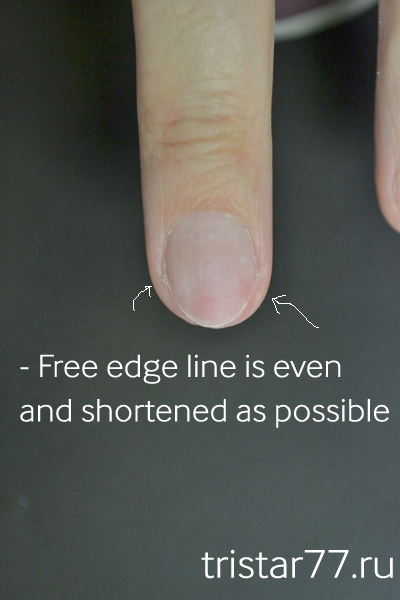
2. Using 180 grit file shorten the free edge and give it the shape of the smile line. Make sure that all the corners are filed off in order to make the pinching procedure easier


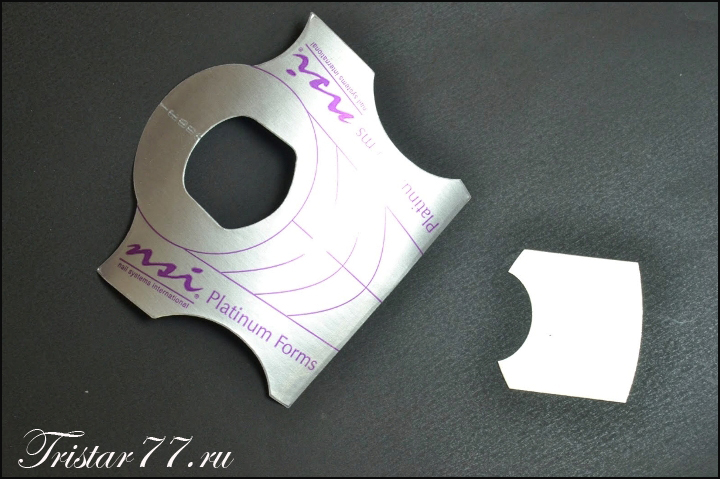
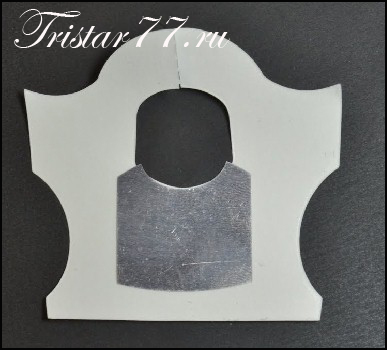
3. Take the metal seal and stick it to the form. Using manicure scissors cut the form with the metal seal according to the shape of natural nail.


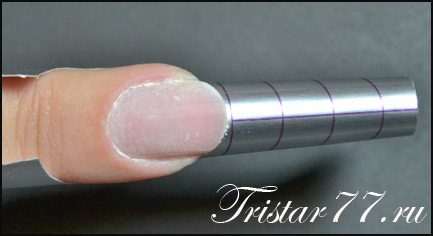
4. Take the C-curve tool and use it to give the form the desired shape.


5. Fit the form to the natural nail. Make sure that the center line is strictly in the center. Check the form fit from 3 views – from both sides and from the top.

Now you can go directly to applying dehydrator and nail primer and sculpt the nails!

Do you want to learn more?
Find out the secrets of form fitting for other shapes of nails – like Pipe or Stiletto?
You are welcome to our nail trainings.
For more information contact us by e-mail info@tristar77.ru or Skype #nailcouture

Friday, April 26, 2013

“Pink Gradient“ tutorial


Represented by Anastasia Luksha
NSI Master Expert, CEO of Nail Couture Studio, current judge.
Moscow, Russia

1. First sanitize your hands and your client’s hands with Sani-Pure. Prep the natural nail: gently push the cuticle, shorten the free edge, take off the shine using 180 Endurance file.


2. Apply Nail Pure Plus and Attract Primer. Fit the form. Add couple drops of Glass Paint color “Fuchsia” to the monomer.
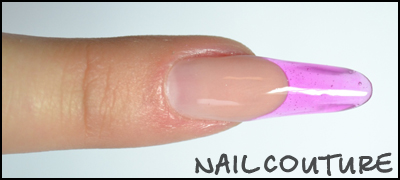
Sculpt the natural nail edge with Peach Blush powder. Use Totally Clear powder and monomer with Glass Paint to sculpt the free edge with the shape “Pipe”. Pinch the nail and remove the form


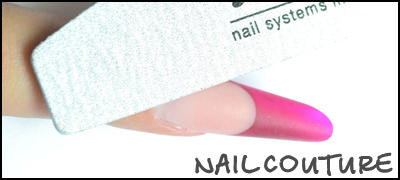
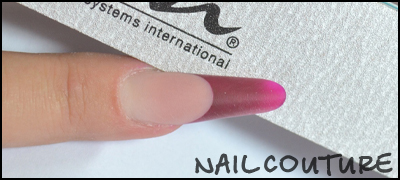
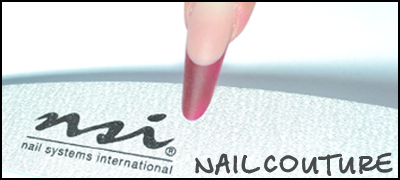
3. File the while surface of the nails with 150 or 180 Endurance grit file. Make sure that the direction of the files goes only in the center of the nail.


4. Make sure that the sidewalls are strictly even and parallel.


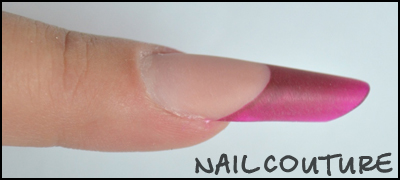
5. File the free edge with the 45 angle to finish the Pipe shape. Make sure that that 45 degree angle is the same on each nail.
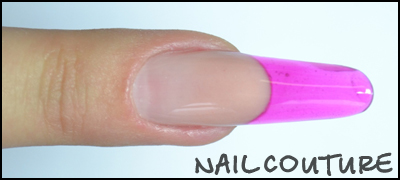
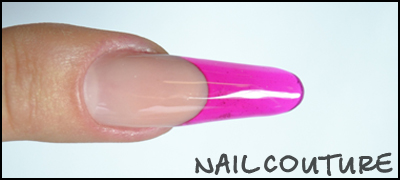
To create the gradient effect add one drop before sculpting next nail in order to get more intense color.


6. Cover the nail with Glaze ‘N Go and cure for 90 seconds.
The design is ready!